Sunday, May 2, 2010

Project Woes

Ahhh, polyurethane. We have a love/hate relationship. It's usually love, but this weekend it's pure hatred.  Remember my scroll painting I did a while back?  Well, I finally decided to polyurethane it, along with some other projects, this weekend.  I'm sure we could all agree that a little poly makes any project look better, but this is what she did to my painting.


That's actually what it looked like after hours of having a few dumbells on top. I set up my workshop outside yesterday because the weather was so nice and I got started on polyurethaning the backside. Then I took my son to the park while it dried and when I came back, both sides were completely bowed by about 5 inches!! My heart totally sank because I spent a ton of hours painting this thing. My dad's theory is that it shouldn't have been in the sun, but my other project was in the sun and didn't do this. I'll definitely poly in the shade from here on out though! And I'm thinking I might just have to have my dad make a frame for this to get rid of the rest of the bowing.

Not only did the painting bow, but some of the poly leaked onto the front and dried all goopy.


This isn't even the worst of it! I tried taking a razor blade to gently ease it up, but it cut right through all the layers of paint and revealed bare wood. Plan B? My trusty fingernails. I couldn't get all the mess up, so I did the best I could then touched up the paint. I had actually forgotten which paint I used for the background color and used the wrong color, then had to go back and paint over it. And since the chocolate brown was a spray paint, I had to use a brown that I had on hand which was more of a grayish-brown. Yeah, today just isn't a good project day for me!!

After I got the goop up and retouched the paint I put a coat of poly on the front. I'm keeping my fingers crossed as I anxiously await to see what happens.  It seems to look ok as of now, but since there is a slight sheen to the poly, I know it will highlight the imperfections (you can see them on the left in the picture below).


And don't worry, that's just the reflection on the painting and not spilled paint, although that would be my luck!!


Little Stool Makeover

I have had this stool forEVER...or at least since 3rd grade. We went on a field trip to Sutter's Fort here in Sacramento and we each made a stool and a cornhusk doll and I honestly don't remember what else. I've always thought the stool was kinda ugly because I like the stools with a V, or I guess it's more like an A, cut out on the bottom of both sides. Know what I mean? But the purpose of these stools was to be able to sit on it AND turn them upside down and carry our goodies in, so they kind of had to be made like this.
I don't even remember what the 'A' on the side stands for. I don't know if we all burned our first initial on the side or what?


And for some reason, I got the urge sometime in elementary school to put a footprint stamp in the corner.


It was time to either do something with this stool or get rid of it, and considering I have held on for this long, I figured I might as well give it a shot.  I decided to do a simple stain...


But I did not like the look of this at all. I didn't want to paint the whole thing either, so I compromised and left the top stained. I did 4 coats of white, purposely not letting them dry inbetween coats. Why, you ask? I wanted to be able to chip away at the paint and the edges and I knew it would be easier to do if the paint was not completely cured. I could have just sanded the edges, but that would have made it look too smooth. So while the paint was still slightly tacky, I took the edge of a flathead screwdriver (is that what they're called?) and rubbed the edges of the stool.  I also scraped away at random parts of the stool to give it an overall old look.


I still didn't like the color of the stain, so I rubbed the top with watered down black craft paint. Here is the final product.


But I think I might just use it as a magazine holder instead!


If you are a Country Living subscriber you know those are very old magazines, but it's SO hard finding time to flip through them when you have a toddler running around! =)


I'm linking up to this party

Friday, April 30, 2010

My Weekend Project

Wanna see what I'll be making this weekend? Ok, I won't be making it, so I guess I should say what my dad will be making. Well, it involves these 2 stain grade pine panels from Lowe's. Any guesses?


Ah, I won't really make you try and guess because really, you could make a million different things with those panels.  Are you ready to see what I have planned?

A tv stand!


I designed it to match the bookcases I had my dad build.


Wow, isn't it amazing how you don't realize how cluttered something looks until you see it in a picture?

There are 2 of these puppies and right now this one holds my son's toys and the other one holds boxes that are ready for our move, but once we move, they will flank the tv stand. And let me say the tv stand aint your grandma's tv stand.  The sucker is going to be 4 ft long! My current tv is going to be lost in a sea of space, but I plan on getting a bigger tv someday. I used to think all wood should be painted back in my shabby chic days, but now I really appreciate the look of wood...well, most of the time. I would have NO problem painting 80's style oak cabinets!

Here is a close-up of the moulding at the top.


And ya gotta love those worm holes!


My dad questioned my design of the tv stand because I want moulding on the top to match the bookcases which means it won't sit flush with the bookcases, but then I found a picture of this media center in the Ballard's catalog to show him what it would look like.


I think this look gives it more character, as if the pieces were found seperately and pieced together.

I've already been searching for some baskets to fit in the cubbies on the sides of the tv stand, but it's really hard finding long and narrow baskets that are cute!...And that don't cost an arm and a leg.

I can't wait to show you the finished product in a few weeks. It's so nice having a dad who knows how to build stuff!!

Wednesday, April 28, 2010

Party Time!!

I'm throwing a party, Pottery Barn style, and you are all invited!! So grab your flip flops and let's head down to the beach, shall we?


First, we will have a lovely seafood feast and sip freshly squeezed lemonade from mason jar mugs. I don't even like seafood, but I'll go outside of my comfort zone for this party =)


You might be wondering how I lugged all the dinnerware and cutlery by myself, but I just piled everything in this wire basket for easy transporting.


After eating, we can all brave the ocean waters...ooooor just sit on the sand and admire the ocean's beauty from afar. I'm deathly afraid of whales and sharks, so the most I will do is stick my feet in!

And don't feel bad that you forgot your towel because I brought plenty o' towels in my handy basket tote.


Now that the sun is setting, I guess I should light some of the billion lanterns I brought down to the water.


Time to chill in front of the bonfire on grass mats piled high with these sea-inspired pillows.


And of course lots of these are planted in the sand for extra lighting.


And every good hostess hands out a token of appreciation to all guests as they leave. Hopefully you will use some of these recipes when you invite me to your next get-together!


Oh, it was nothing, really! I'm glad you could make it! We'll have to do this again sometime very soon!

Tuesday, April 27, 2010

ABC's and 123's

My son has been getting more and more interested in learning numbers and letters lately. He likes counting to 10 - which sounds more like, "One, two, fee, five, six, ten!" or "Uno, dos, tes, cinco, diez!" - and then he claps and says, "Yay!". And when we watch Wheel of Fortune (I just *know* my spin ID will be called one of these days!), he likes repeating the letters they call out. Ok, I guess that's my cue! I was thinking about getting him some flashcards, but really, what's fun about some black letters and numbers on a white background? Bo-ring! No, my son is going to learn his letters and numbers in style!!

I started by going to Michael's and getting some papers that coordinated with his bedding.


It took 2 papers for the letters and numbers and 5 for the background. I guess my math skills are really bad because I originally only bought 2 papers for the background and had to go back the next day!

I already had some stencils, so I used those to trace out the letters and numbers. I bet the process would go by so much faster if you have a cricut machine, but I'm not one of the cool kids and I don't have one yet. Instead I had to cut them out with scissors and an Xacto knife and straight edge.


Once that was done, I was ready to cut out the background. The paper was pretty flimsy, so I used spray adhesive to glue index cards on the back of the paper and then used the Xacto knife and straight edge to cut around each card.


There was a slight overhang with the index card, so I just trimmed it off and you can't even tell that some are a little bit smaller.

Next, I used some distress ink on the letters/numbers and on the edges of each card.


Believe it or not, I have never used this stuff before and as you can see in the picture below, I went a tad bit overboard on some of them. Thank goodness I had extra paper and index cards!!


My next plan of action was to stain some clothespins that I got from the Dollar Tree Store. There were 36 in the pack which was the *exact* number I needed (26 letters and 10 numbers - and you thought I was off my rocker!).


I used Minwax Early American stain. It's not a perfect match to his crib, but it sure looks better than what I started out with!


While those were drying, I glued the letters and numbers onto the cards. I made sure to leave a bigger space on the top of each card so that the clothespins wouldn't cover up the letters/numbers. After they were glued, I simply attached them to a string of jute and they were good to go! Now I just need to find a place for them that is out of reach of his sticky little fingers, yet a place where he can still see them. This may be a challenge!!


I hung them up temporarily so you could see what the finished product looks like...


But for now they will just sit tight in this basket, probably until we move. 


This project was so easy to make - a little time consuming, but easy.

Wouldn't it look so cute with pink papers for a girl? Or if rustic isn't your style, you could use binder clips to hang the cards on some type of wire cable like this one from Ikea.

The possibilities are endless!!

I'm linking up to this party

Funky Junk's Saturday Nite Special

Wednesday, April 21, 2010

April Showers

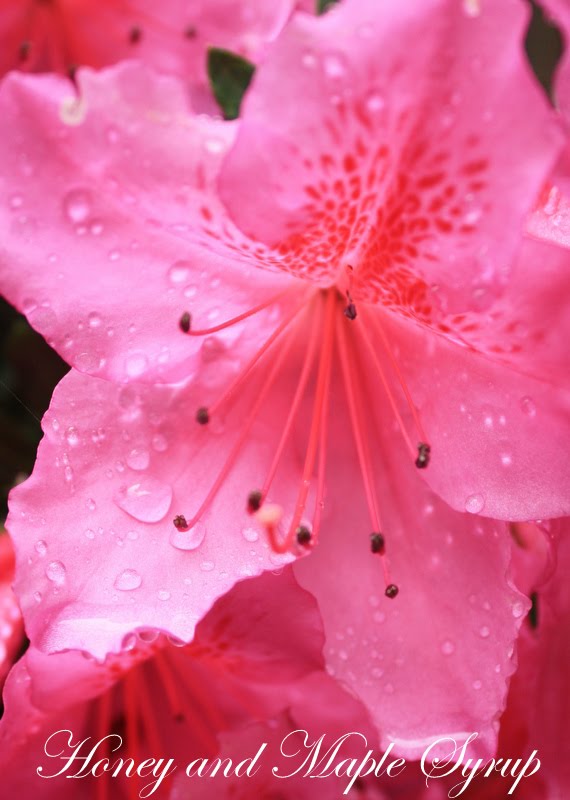
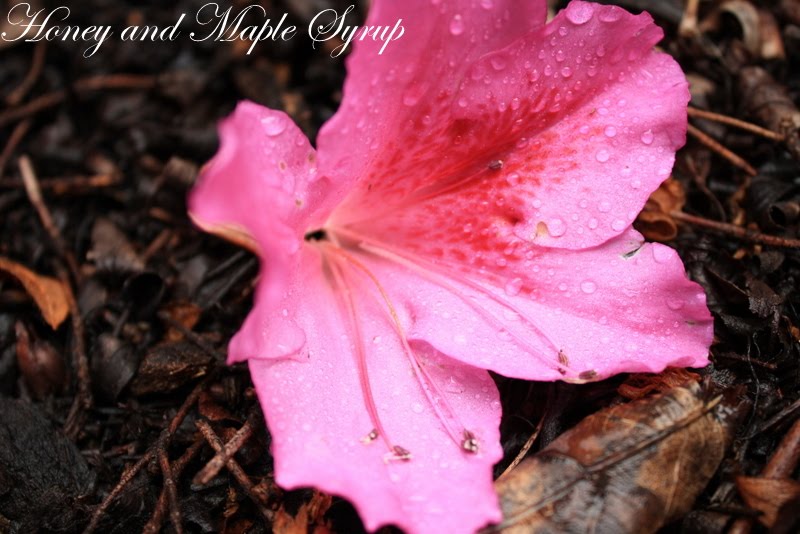
I don't know what the weather is like where you live, but here in Sacramento it's been sprinkling on and off. It's the perfect excuse to pull out the Disney movies (ahem, for my son, of course) and snuggle up on the sofa. But first I had to take a few - ok, a LOT - of pictures of the flowers in the backyard. They just looked so beautiful covered in raindrops.

I hope you enjoy!


Related Posts with Thumbnails