Saturday, May 29, 2010

Just Another Picture Frame

I got this picture frame from a local thrift store for $2 buckaroos.


Instead of glass, it had some weird plexi glass type of insert that slid into the back. Kinda hard to explain, but it's not your typical picture frame where you bend the notches to get the glass in.

I had no idea what I was going to do with it, but figured it would come to me, so I primed it...and nothing came to me. I was thinking I would paint it the same color as my starfish picture frames then attach some knobs and turn it into a tray, but really, I already have tons of trays.  I finally decided to do the same thing I did for these frames. In case you don't feel like checking out that post, I painted the frames green and used a beach mat for the background. The beach mat was bought at a thrift store for $1.

I just have to show the picture below because I had one of those 'Duh!' moments. I actually thought I would be able to use spray adhesive to attach the plexi glass to the beach mat.


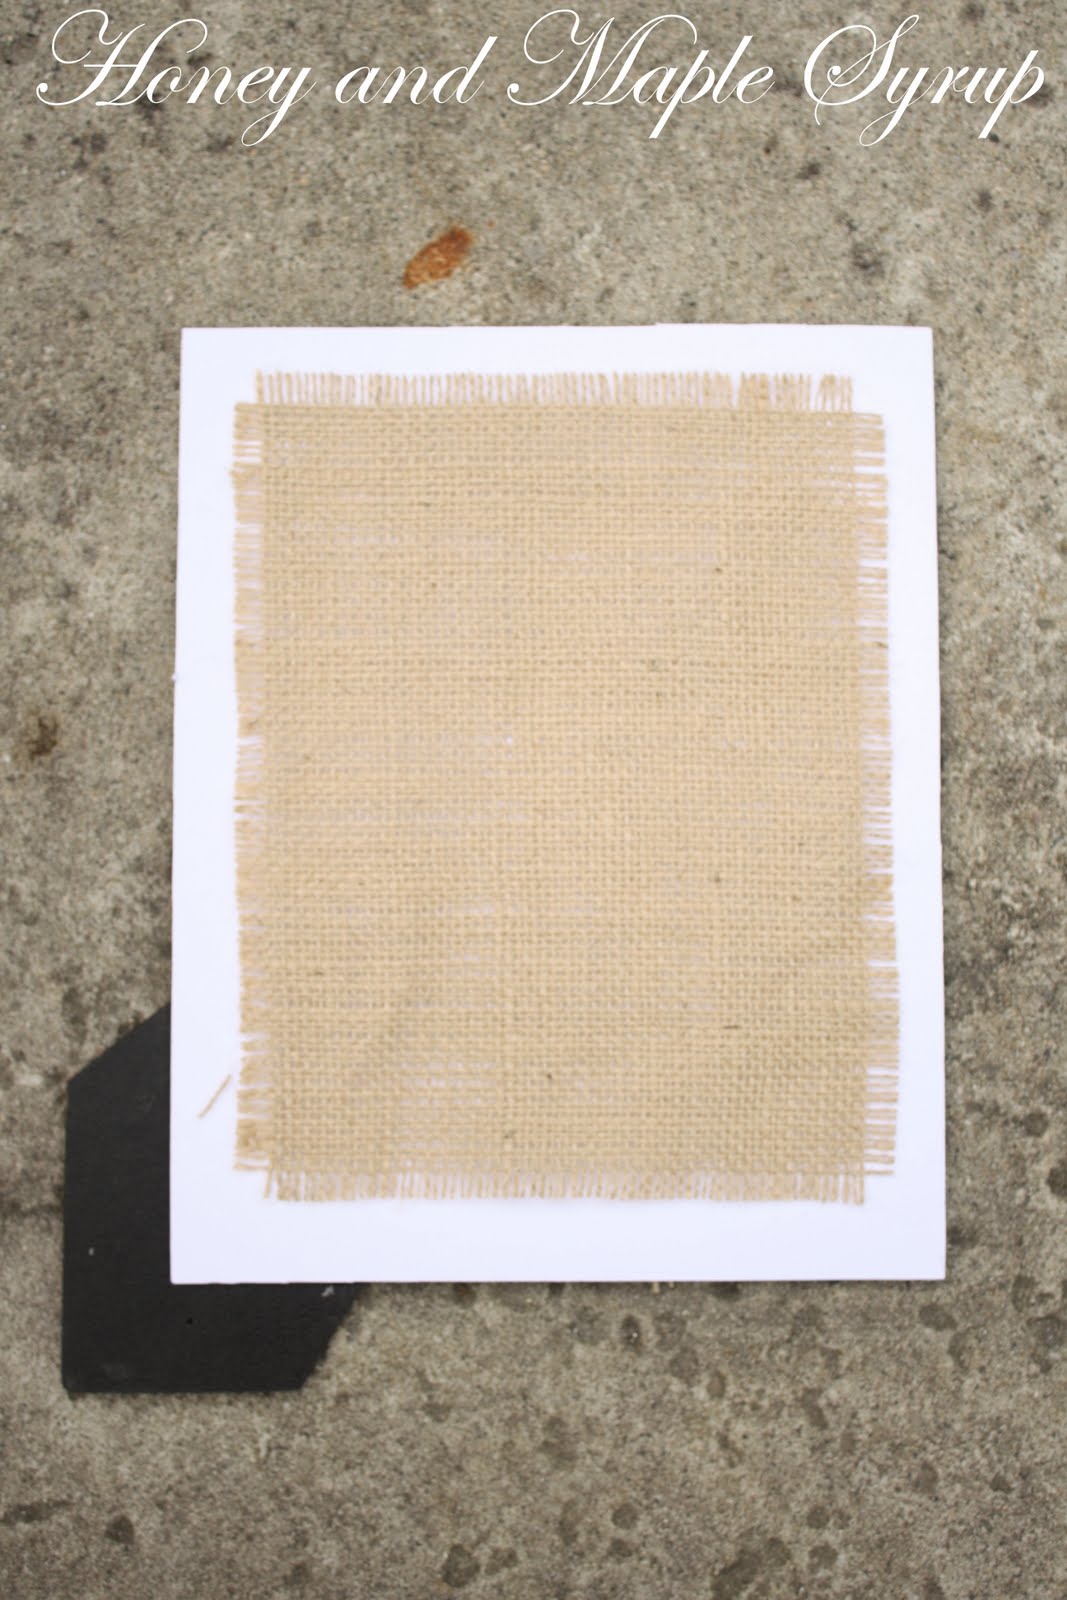
After coming to the sad realization that that wouldn't work, I cut a piece of cardboard the same size as the plexi glass and I used that to glue the beach mat to.


Would you believe I almost called it a day at this point?? After another 'Duh!' moment, I realized I forgot the stain! So out came my Minwax Early American.

I knew exactly what picture I was gonna put in the frame. I had just received a canvas I got of Elijah riding a giraffe at The Sacramento Zoo from canvaspeople.com. They have specials quite frequently where you can get a free (yes, FREE!) 8x10 canvas. You just have to pay the $15 S&H.


And here's a closeup just because he's so adorable and deserves it! =)


Funky Junk's Sat Nite Special
 
 http://linda-coastalcharm.blogspot.com/


Pineapple Thingamabob

I went to Home Goods last week because some evil force was telling me to and I tried really hard to resist, but let's face it - I'm weak! I think it was the same evil force that tells me to eat chocolate! I think I need an intervention, but that's a whole 'nother talk show!

Ok, so I went to Home Goods and spotted this pineapple thingamabob and knew I had to have it!!


The color? Not so much, but the price pretty much sealed the deal.


It reminded me of when I went to Disneyworld and saw this:


It was one of those architectural pineapple things and I just had to take a picture of it, even though it meant pretty much climbing in some bushes. Oh, Elijah's dad must've been so embarrassed! =)

Anyhoo, the color wasn't particularly awful, but I knew it wouldn't match the rest of the decor that's going on in the bathroom. I got this bright idea to paint it a glossy white because I wanted it to make a statement, but when I put it next to my Ballard Designs knockoff, it just looked so wrong.


Ah, who am I kidding - bring out the stain!!

Before I show you the after picture, can I just say it was a pain in the butt to get in all the nooks and crannies?! It sure was worth it though. Now it matches perfectly with my Ballard Designs knockoff!


I made sure to leave lots of stain on because I didn't want the piece to just look 'old' - I wanted it to look oooooooolllllddd!


Funky Junk's Sat Nite Special


Monday, May 24, 2010

TV Stand Update

Remember the tv stand that my dad is building for me? Well, I wanted to show you guys the progress so far. It's almost completely built now!


For some reason, the bottom looks bowed in the picture above, but it doesn't really look like that.


My dad is going to put the back on after I stain and polyurethane so that it makes the job easier.
And of course the doors need to be finished. I got some trim which will be about 1.75 inches in from the border and I am using the same knobs I used for my window frame revamp. It will look something like this:


The baskets that I recently bought and embellished fit perfectly.


Ok, so you are probably wondering why on earth I did the embellishments if you can't even see them and the reason is that I'm not set on using them here so I wanted them to look pretty in case I use them elsewhere.

The plan was that there would be an even overhang around the whole top edge, but my dad miscalculated (whoops!).


As you can see, there is an overhang on the front and not the sides. The new plan is to make it flush in the front and add some of the trim used on the doors around the top.

I can't wait to show you the final product in the next few weeks!

Sunday, May 16, 2010

Revisiting the Starfish and Picture Frames

Remember my recent post about the starfish and picture frames? I wasn't going to do anything with them until after I moved, but Elijah is with his grandpa all day today so I figured I might as well get something accomplished!

So, I started by using some spray adhesive to glue some white cardstock onto the back of the $1 (yes, $1!!) frames.


Next, I measured and cut out some burlap about an inch smaller than the cutout for the frames.


I frayed the edges a little bit by pulling out 3 strands on each side then I put a little dot of hot glue in each corner so it would stay in place. I didn't glue the whole thing down because I wanted to be able to move it around since it's really hard to get burlap straight.


I really wasn't crazy about the corners...


So I came up with a solution to cover them up and add a little bit of shine.


Muuuch better! Now you can't tell the corners were missing a little sumpin' sumpin'.


Next, I just glued the starfish in place and popped them back in the frame.


I love how it looks like the starfish are dancing! This was such an easy and cheap project and didn't take long to make at all!

I'm linking up to

Funky Junk's Saturday Nite Special


Wednesday, May 12, 2010

Basket Embellishment

I went to Home Goods (one of my fave stores!) this past weekend to find baskets to go on the top shelves of my new tv stand (which by the way, all the wood is cut and now just needs to be assembled, stained, and polyurethaned...wow, ok, I still have a long way to go!). Anyhoo, I've seen these baskets everytime I go to Home Goods and I have always admired the wooden embellishments on one side, but the only 2 left were, well, not the cutest.


Yeah, they just weren't doing anything for me, so I was about to put them back, but then I figured I could do something to change the look of the wood cutout. And plus, they were only $5 bucks each!

I measured the cutouts and took a measuring tape with me to Michael's where I found this wood applique.


It's not a perfect fit, but it's not that noticeable. I'm trying to practice telling myself that not everything has to be perfect ::deep breaths::
I held the applique in place and traced the cutout on the back because I wanted to leave the wood bare where I would be gluing so that I could get a better bond.


And I ended up with this:


I pulled out my craft paints and couldn't find a great match, but decided to paint it anyway and try and work with what I had. It turned out looking like a charcoaly-brown; not so cute!


I tried adding different browns to make it look better, but it wasn't happening. I have learned that sometimes walking away from a project is the best thing you can do because that's usually when an idea pops in your head...which in this case I remembered that I have some Espresso spray paint left over from another project. I wasn't sure how it would look since it has a satin finish, but I ended up really liking the contrast between the applique and the background.


It's amazing how such a small thing can make such a big difference! Now I just have to go get another one. I originally only bought 1 to see if I liked how it turned out. Ok, and I also only had 1 coupon with me at the time =)
 As usual, I'm linking up to

Funky Junk's Saturday Nite Special

Monday, May 10, 2010

Elijah's Lanterns

I was trying to find the perfect lamps for my son's room a while back, but wasn't quite sure what route to take. When picking out his bedding when I was pregnant, nothing really jumped out at me. There were some cute jungle prints that I found, but I wanted to pick something that would grow with him. After looking at several different stores with no luck, I decided to see if my mom would make his bedding. My inspiration? A grandpa's sweater. Yes, that was seriously my inspiration. I wanted fabrics with a subtle pattern and toned-down colors. I ended up finding the perfect fabrics at Beverly's. Two dark olive green fabrics, two mustardy  fabrics, and a rusty red fabric. While we were at Beverly's, I spotted a huge star hanging way up on the wall. I knew I just had to have it! It was an ugly yellow, so I painted it to match the red in his quilt. I also had some iron stars that I bought at Denio's swap meet several years ago and thought those would be perfect for the room. I still didn't have a theme per se, but my mom bought the picture below online of a little boy taking a bath and it kind of reminded me of a little cowboy with that western feeling.

I didn't want to go over the top with the whole 'western' idea, so I have kept the decor pretty simple. Wait, isn't this post supposed to be about lamps??  Well, I guess giving you the down low on his bedroom decor will help you to understand my choice of lighting. I thought it would be cute to have something that suggested a western kind of feel without screaming it (like a cowboy shaped lamp!), so I got the idea to get electric lanterns (found on this website).

Here's a picture of the kind I got:


I think they are so adorable, but I'm not crazy about the brass.


I'm debating on painting those parts with a flat black, but I haven't quite decided yet. Any thoughts?

Saturday, May 8, 2010

Starfish and A Picture Frame

I have been looking FOREVER for some cheap, matching picture frames. But they also had to be sturdy and have some kind of moulding or interest of some kind. Usually I find some that are cute, but are too expensive, or I can find only one, but today at the thrift store I found TWO matching frames with detailing, and I was pretty much sold when I saw they were solid oak.


Perfect!

I took them home and sanded them right away. Next, I primed and painted them an off white to match my vanity bench. I also applied the same Early American wood stain to give it an aged look.
I don't have a finished product for you yet, but here is a preview:


I have some good plans for the frames which involve another frame I have waiting for me in New Jersey. Hopefully I'll get to show you guys soon!

Monday, May 3, 2010

Cubby Makeover

I got this cubby thing (I have no idea what to call it!) about 7 years ago from Denio's and knew right away I would be painting it.


I painted it green (my fave color) right when I got home. I didn't even put primer on it 'cause I'm just that impatient. Over the years though, I really started disliking the shade of green because it had a blue undertone, so I decided to remove the black stand it was on and paint it. I used my usual Lucky Bamboo by Behr and things were going great...until little pieces of paint started flaking off. And that, boys and girls, is exactly why you should use primer! I had to scrape all the paint off so I could start from scratch. When I got it back down to the wood, I started kinda liking that look, but it's just a veneer and it started chipping. Back to Plan A: Paint.

After I primed and painted, it looked like this.


Then I used Minwax Early American stain. You can tell the drawer on the right has the stain and the one on the left doesn't.


Wow, please excuse the photos! It's so hard to capture the color green on a camera!
I finally got around to polyurethaning it this weekend and I love how it turned out.


Had to add a pretty flower to the mix!


I kinda feel like it's missing something though. I was thinking new knobs, but unfortunately the current ones were glued on, not screwed, so I'm thinking they might be hard to remove. I thought about painting them, but wasn't crazy about that either. What I really want to do is get some cute label holders (like the kind used for scrapbooking), but I haven't been able to find exactly what I want. I'm sure you'll be seeing an update on this piece in the future!

I'm linking up to these parties

Funky Junk's Saturday Nite Special

All Thingz Related
Related Posts with Thumbnails